Nocuts

Pictures of art, origami, backyard, family and animal pets we have.

My Photo
Name:
Location: Florida, United States

Being an art teacher, I have many interests. One of which is Origami. In this blog, I wish to share with friends and family pictures of what I have been up to, life on our small farm, and possibly some other art work I or my son do. I hope you enjoy my small speck in the net.

Wednesday, September 23, 2009

This year I decided to have my students make cranes and do another school display.


This time an American flag. I saved the white cranes from last year and had the students make red and blue ones.


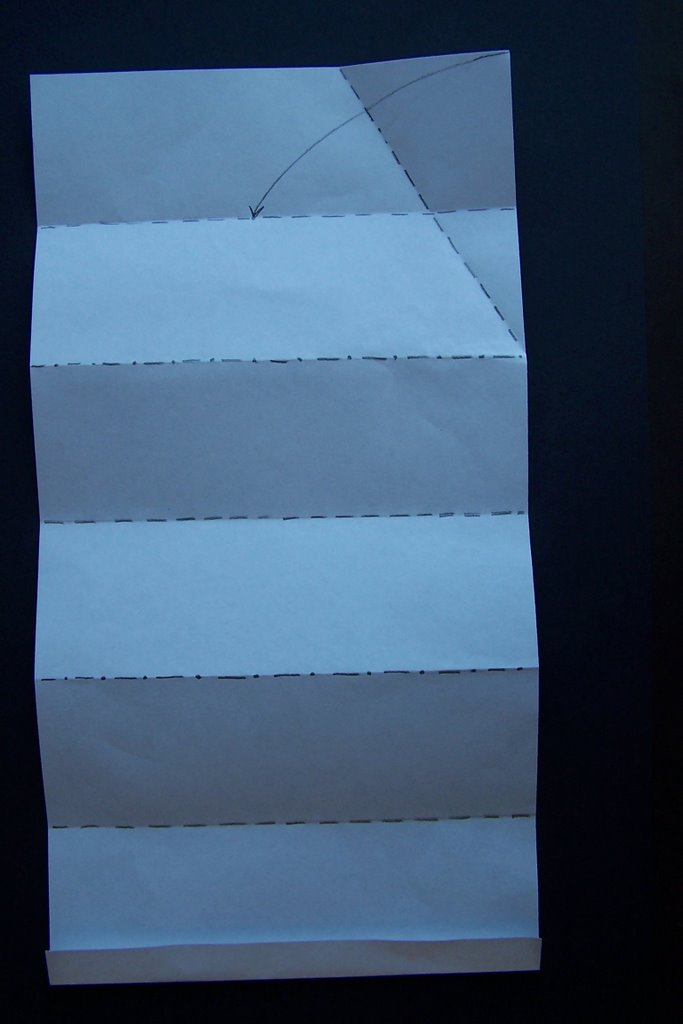
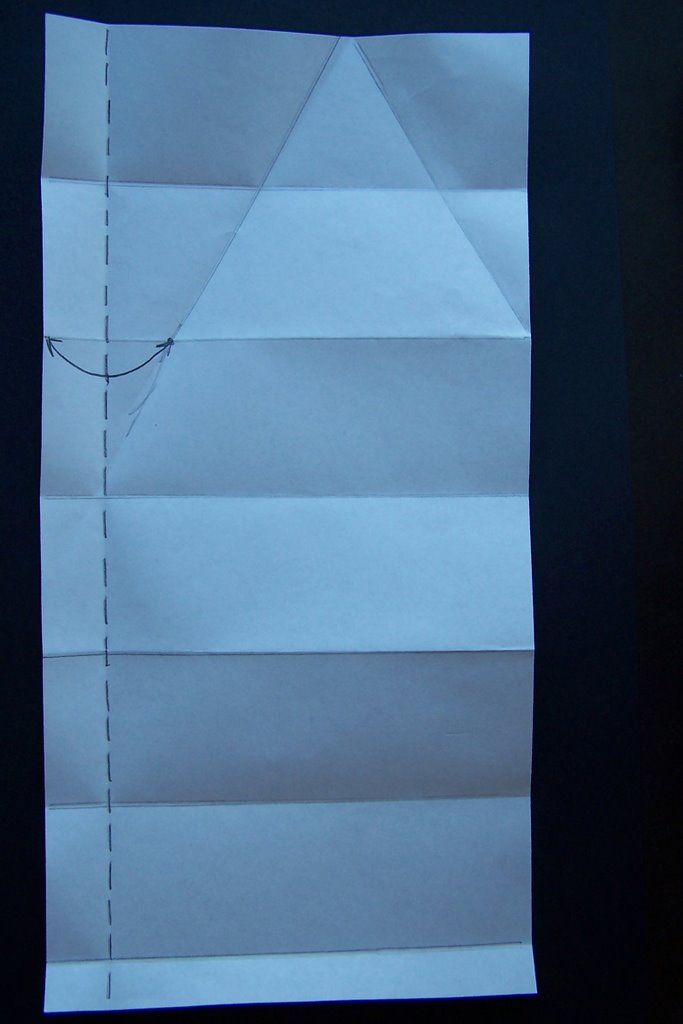
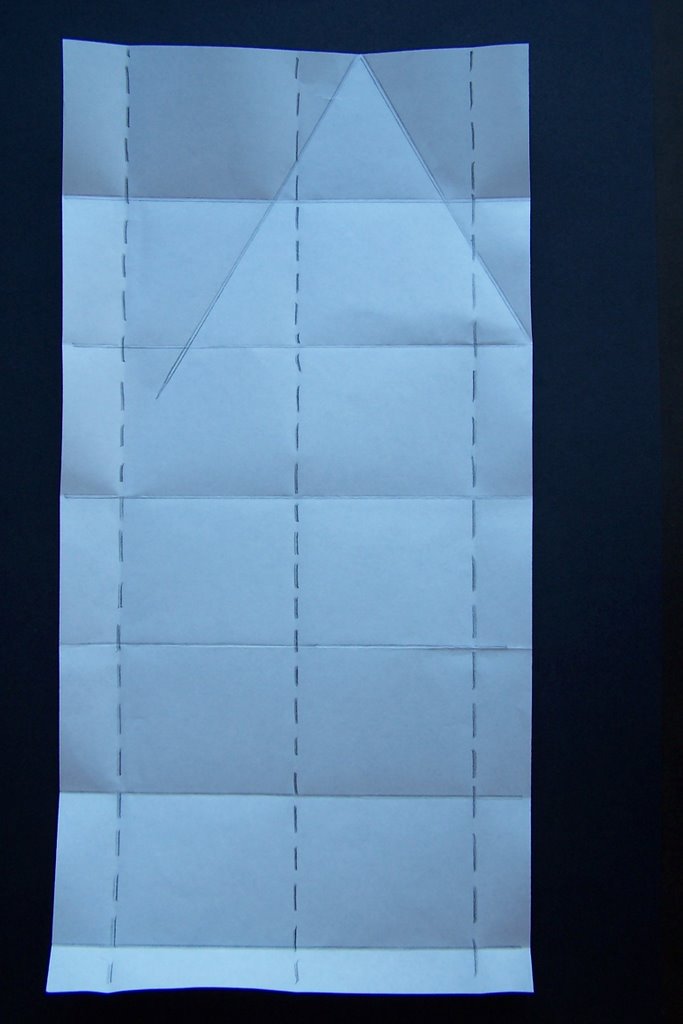
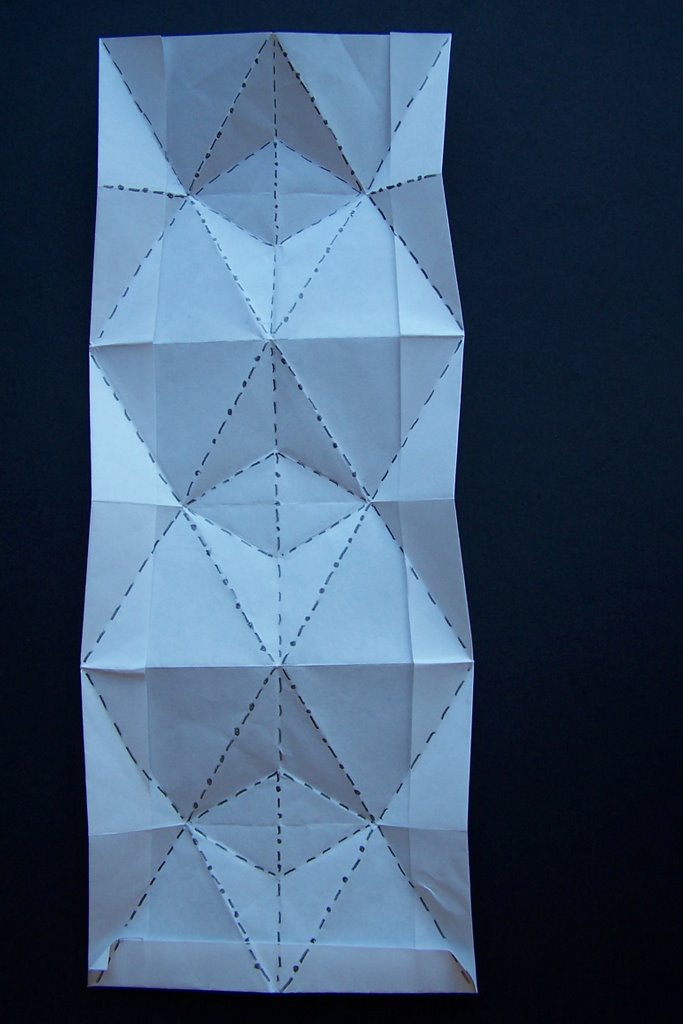
But since my art lessons have been cut to 30 min. I could only have time to teach the flapping bird and swans. I had more of a positive response to this display.


I should have taken some pictures with some of the students in with the display. Oh, well, next year.


Labels: , , , ,

Last year I had my students make peace cranes and (peace) swans for Peace Day which is on September 21st. I took them and made a display out on the school lawn. Everyone as far as I know liked it. Here are a few pictures.

The 4th and 5th graders made cranes. At this time I had 45 min. art classes.


The 3rd graders learned how to make the flapping bird while the 2nd graders made swans. The 1st graders made a simplier version of the swan.


Labels: , , , ,

Thursday, November 02, 2006


I feel that I must let you know that dyslexic I am . So math has always been a problem with me and some times with origami.
This is done with a half square, (1:2). You fold one of the short sides in ( this is an arbitrary fold, depending on the size it can be about a ΒΌ inch, it does not matter very much). Then you divide the remaining rectangle into 6ths. Be sure follow the valley and mountain folds.

Labels: ,


Now you take one corner of the short side of raw paper and fold it to the closest valley fold with the pivot being the closest mountain fold.

Labels:


Using this new triangle as a guide, fold the other corner of the short side of raw paper over the newly made triangle.
This makes two fold lines that cross or bisect each other. This is a land mark that will help show where the long narrow side folds are to be.

Labels:


Fold the long edge of raw paper that is closest to the new land mark to the land mark and unfold.

Labels:


Now fold the model in half and unfold. Match the long side of raw paper with the other side that you just folded so that it looks symmetrical.

Labels:


From this point, you follow your instructions on how to fold the Star of David. I have found that this is a simple way for me to fold the Star with any paper, anywhere, without the use of a ruler.

Labels:

Saturday, October 14, 2006

Star of David Money Fold


I bought the book "Making More With Money" published by Origami USA about four years ago. I wanted this book mainly for the Star of David fold designed by Fred Rohm. However, I was disappointed to learn that to make it , you had to use landmarks on the dollar bill. It has been in the back of my head all this time. There must be a way to figure out how to make this model from any size rectangle of the same proportions without using the landmarks from the dollar bill, and without using major math skills of which I have none. While in church a few weeks ago, not thinking about this in any way, WHAM! it hit me. It was so simple. I had to try it out right then during the sermon before I forgot. The following are some examples. I am awe struck at the wonder of God's creation of the human mind and how it works.

Labels:

Brown paper stars


Here are two that I made out of the paper that is used to hold the paper towels together before they are put in the towel dispenser at school. We art teachers save and use everything.

Labels: